Sunday 10 June 2012

Butterflies and Rainbows

I am doing a double post here today because I wanted to share the last couple of manicures that I have done...

The first one is "Butterflies". .. Megan is a former girlfriend of my son but because she became such a big part of our family during their relationship we just couldn't let her go(and luckily her and my son remain friends).  Megan is such a wonderful girl and I consider her the daughter I was never able to have, I am blessed to have her apart of my life....So when she needed her nails done for the prom it was a no brainer! The picture doesn't do it justice I believe and it was worth it just to see her eyes light up at the finished product.


Megan had a great time at the Prom, and of course had the best nails there(if I do say so myself)... :)

Number two.... Rainbows

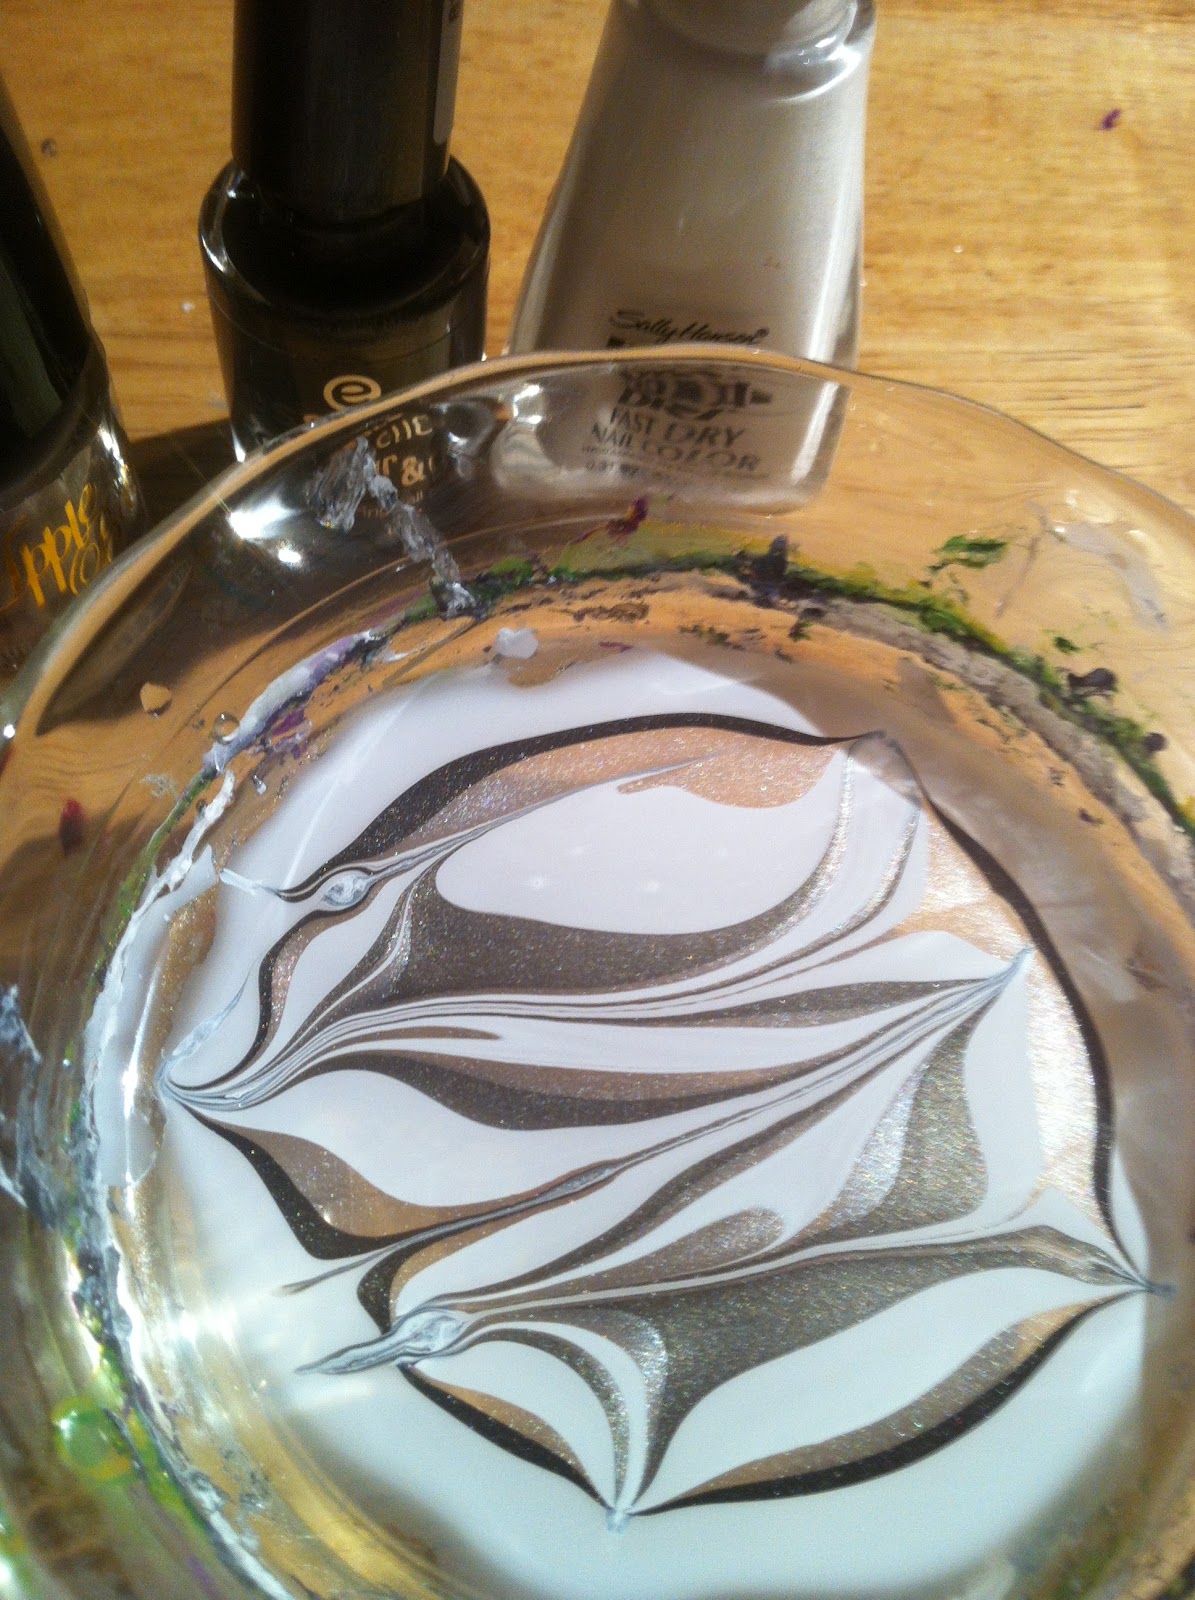
I was scanning the YouTube videos and found soo many tutorials with Neon colors...I just purchased a TON of nail polish in my last trip to the States so I thought I would take the Neon's out for a spin but I knew I didn't want to wear them bare(I am not quite that brave) so I saw a tutorial that looked cool but I had no Scotch Tape so I thought I would just "fly by the seat of my pants" and see where it took me, and .. SUCCESS!!!!

I am VERY happy with this one.....and I even managed to get the lines pretty darn straight. I am on several different medications and one of them tends to make my hands shake pretty bad but tonight the nail polish gods smiled down on me.


The picture doesn't show it real well but all my neons are irridescent and pick up the light!!! I am soo happy with this!!

Hope you like this and feel free to comment or make a request!

Talk to you soon!

Sunday 3 June 2012

You are my sunshine....

Hi there....been a long time since my last post and I apologize it seems that life manages to get in the way of all the fun stuff I like to do...anyways I am here now and have lots to share in the coming weeks. We took our family vacation this year and went to Florida, I believe I could live there as the weather, people everything just agrees with me. Most of all is the shopping!!! I spent a day and did some hardcore shopping. Luckily I had my boys with me for all the heavy lifting and trust me they did some lifting...LOL  .. I found some really pretty tops but the BEST find of all was my nail polish haul!! I went crazy over Sinful Colors, China Glaze, Finger Paints and splurged on some mini packages at Sephora, all of these I will be using in the coming days, weeks so stay tuned....As a matter of fact I used my new sinful colors in this manicure.

This was just a quick pick me up and reminded me of the beautiful Florida sunshine that I am missing so very much these days with all the rain and cloudy skies we have been subjected too.


This is a pretty simple design. Just stripes of nailpolish and needle dragging to get the desired effect. Sometimes the simplest designs turn out so very pretty.


Let me know what you think....

Many of my friends and loved ones(some strangers) have asked if I would do their nails and are encouraging me to start my own business of doing nails......I am in the process of setting this up for myself(eeek) So I will be updating you on how that is working out for me, I have a full-time job and a family to take care of so fitting in a side job may be difficult but I love a challenge(LOL) <--scared laugh.... :)

Take care and talk to you soon! 


Wednesday 2 May 2012

A new friend

My best friend Jodi is a PSW who does home care and she has a client who wanted her nails done. Since she is confined to a hospital bed in her home I went to see her and she was totally not what I was expecting. Here is a woman whose life IS this wicked disease and she has such a positive outlook on life. I met her husband and two year old son who is just the most adorable little guy! While I was doing Michelle's nails her little boy insisted I do his too, so you will see in the pics that his hands are right there beside his Moms.  Michelle wanted a design that included the Breast Cancer ribbon as that is her battle. Now her nails were small but I was able to give her a design that she loved.

Michelle doesn't get out for things like manicures so I tried to give her the royal treatment even though she was feeling crappy and she enjoyed the distraction....all she kept saying was "this is wonderful!" and "I have never had this done before" I am soo happy and honored to have been able to do that for her...

I know the pictures aren't the greatest but this isn't about the pics this time but more about Michelle and what a wonderful experience I had meeting a new friend.


Talk to you guys soon.

Tuesday 24 April 2012

Flower Power

I came across this design done by Dollface22772 on YouTube and thought it was the perfect design to hopefully get me in the Spring spirit!!!

It is a time consuming one but I really love it because I get to use colours that I don't normally use.

It actually reminds me of some of my sisters stuff from when I was growing up, everything they owned had some sort of "flower power" seventies design on it and since I was the baby of the family I of course inherited all their hippie stuff .. LOL


Anyways here is the design. Use a good bright base colour and then pick some bright colours for the flowers. I followed Dollfaces advice and used white first for the flower petals as it truly helps make the colours pop.


Hope you like this one....let me know and post any requests or your own pics of designs you have tried from here.

Talk to you soon!

Saturday 21 April 2012

Flowers

Sorry it has been a few days since my last post, life just has a way of throwing us some curve balls every now and then and this week has been no exception! But I am back and working on some designs that I plan on sharing with you in the next few days. In the meantime here is one that I did a while ago that I hope you like


I recently was in the states for a little day trip and picked up a few polishes, when I say a few I really mean 12!(LOL)

Part of my haul was a wet n wild "I need a refresh-mint" and I have to say I AM IN LOVE!! 

So I decided my debut of this colour would be with some simple flowers and it was such an easy and fun design to do.

I also have built myself a lightbox in order to take better pictures for you and I want to thank my hubby for all his help in building it....what would I do without him!!! I love you babe!

Anyways back to the design....for the flowers I used Kleancolor in Black and Sally Hansen Insta dry in White, on my ring finger I added just a touch of bling for fun!.


...Enjoy and let me know what you think

Sunday 15 April 2012

Butterfly effect

I have been battling a cold for the last few days(thanks to my son who brought the germs home), so I thought I would try a design to lift my spirits.
All over YouTube and Pinterest are posts and pics of the Monarch Butterfly design so I finally decided to tackle it myself.
As you can see from the picture below here are all the colors that contributed to this design.

Recently I was to an Arbonne party at my best friends house and I purchased a sea salt scrub that I absolutely LOVE!! So after I cleaned the polish, filed and trimmed my nails I used this scrub and my hands are now soft and smell lovely.

For my solid color I chose the Joe Fresh polish in "Pineapple", and then topped it with Sinful Colors "Lets Meet".  Once dry I used a torn make up sponge and used Joe Fresh "Pumpkin" and then OPI "Burning Love"... On top of that I sponged OPI "Vodka & Caviar" then eyeing it up I adjusted the color to my liking adding a little more orange or red. Then sponged Sally Hansen "Moonshine" all over to blend it and soften the colors.

My son and husband are watching the Game of Thrones and therefore I am subjected to this medieval "soap opera" I am not a fan of this show but they put up with the fumes of nail polish remover so I allow them this ... LOL

The drawing of "veins" is a little tricky but once the first nail is done I got the hang of it. The overall effect is quite pretty. I am happy with the outcome.


Well it is Sunday night and tomorrow is my last day of work before my "weekend" which is Tuesday & Wednesday. I am hoping that this cold leaves soon.

I will be back in the next couple of days with a new design to try, until then be safe.

Update....I decided to redo my nails and made some changes to the design and am much happier with this outcome.... what do you think?

Wednesday 11 April 2012

Wet n Wild!!

Ok so I decided tonight that I would do a water marble......What was I thinking?!?!? LOL
Just kidding, I have viewed enough tutorials on YouTube that left me thinking "hey I can do this no problem"(HAHAHA)
I prepped my nails and applied the obligatory base coat then I used my Rimmel "Play the Blues" for the main coat. Of course I am watching Modern Family and trying not to smudge my nails whilst(oh yeah I used that word) laughing constantly!!
Taping the nails I have found is CRITICAL unless you want to spend the rest of the evening wiping polish off your fingers, trust me it is NOT pretty.

Next I have found is getting the exact right temperature for the water. I use filtered as per the tutorials that have made me feel like not only can I do a water marble but maybe take on World Peace next...That leaves me with a window of about 3.27 minutes to complete this marble and then ... well we don't want to know what happens...


I am using essence "luxury secret", Apple Bottoms "Club Queen", Sally Hansen "Whirlwind white" for my marble. Holding my breath I begin with the first drop of white then the grey, and dark grey. Continuing the drops until I feel it looks good. Next is the tricky part, I take a orange stick or in my case I use skewers because they come in larger packages and wayyy cheaper. With my "orange stick" I start in the centre of the drops and flick it outwards one way and then back to the centre and flick it out the opposite way, then I move the stick back and forth making a criss cross pattern(still holding my breath by the way)

My fingers are now all taped up and ready to be dipped into this marble magic. Like I am diving into a pool under my breath I say "1,2,3" then dip......next my trusty orange stick/skewer works around my nails and catches all the left over paint so when I take my fingers out of the water there is little to no mess. And Voila!!

This was an interesting design and I enjoyed trying it out. That being said, you will probably not see me do it again as it is very finicky. I encourage everyone to try it at least once and watch the tutorials on YouTube as they truly are very helpful. If you do try them please post and tell me how you found the process.